Well, it is finally summertime in the Pacific Northwest. Like clockwork, the rain stopped, the clouds parted, and mother nature switched on the sun.
We haven't posted many blog entries lately, but rest assured we haven't been bored. Here are some projects that have been keeping us entertained:
Kitchen Cabinets
Above: Building and gluing the kitchen counter tops together. This counter will surround the farm sink we've installed. The counters are being built from recycled hard maple butcher-block.
Above: Both the top and the bottom on the counter will be sealed with Waterlox. Applying Waterlox is a long process that takes 5+ coats over the course of several months.
Above: Set bolts that are helping to reinforce the glue joins on the newly assembled counter tops. These will be on the underneath side of the counters.
Kitchen Pot-Rack
We recently added to our collection of copper pots, and not only do we want to display them, but we want to make them easily accessible in the kitchen. Having them hang from a rack on the wall just isn't working, since it scars the paint and beats up the drywall. Therefore, we are designing and building a pot-rack to hang over the island in the kitchen.
Above: Kitchen pot-rack is built from recycled 4x4 timbers from an old banister railing. Brass bars are something we discovered at Second-Use and just had to have. Thankfully, we have a purpose for them now. A set of additional bars will be mounted on the inside for a total of four rows of pot hanging capacity.
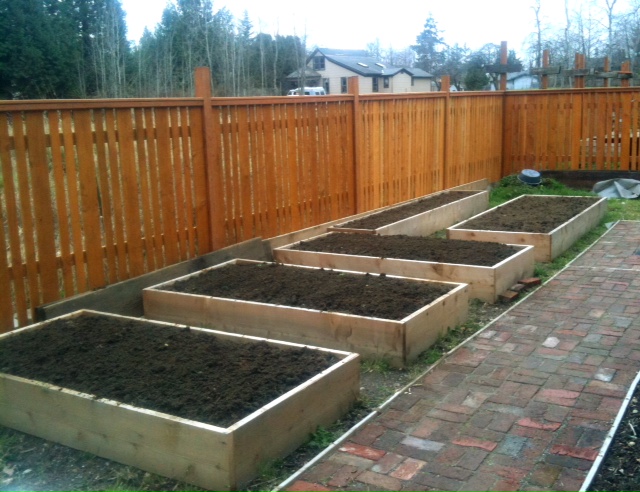
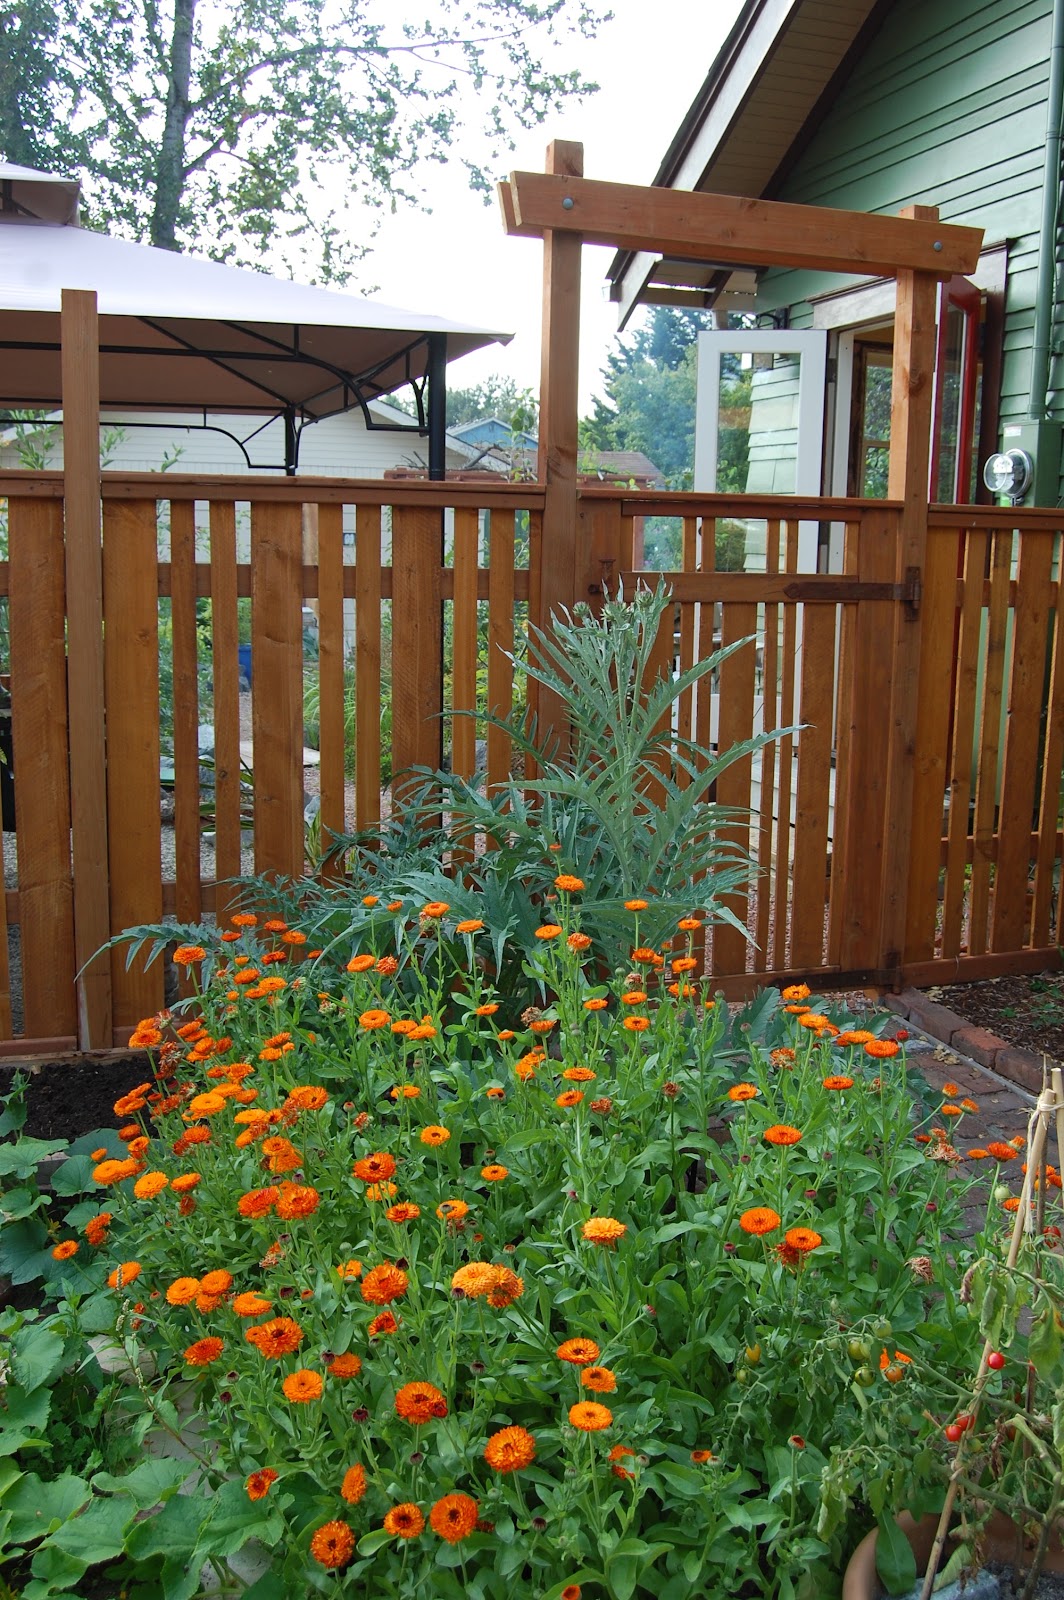
Garden Gates
Above: We constructed a fence and garden gate on the North side of the house that matches the one on the South. I was able to order matching gate hardware from Van Dyke's Restorers. Next step is to stain the gate and the fence to help preserve the structures.
Above: It's a fence.
Above: ... and now it is a gate. We built this gate to look like a fence panel on the South side of our workshop building. There is a long strip (30+ feet) that runs alongside our workshop that is perfect to store "stuff". Now, we can store stuff and we don't have to look at it. Perfect!
Outdoor Kitchen Dining
This project has been a long time in the making. This year we hauled in 4 tons and basalt rock, 3 1/2 yards of gravel so that we could finish this project and others. Now we can step out of our kitchen into our outdoor dining area. In fact, I'm typing this blog entry sitting at the very table in these photos :-)
Above: The outdoor kitchen dining area being constructed. We put in some rock for decoration and a foot bridge over to the orchard area. We laid underlayment and then put in 5/8 minus gravel. Unfortunately, we can't use the crushed brick because we can no longer find the product. Sad.
Above: Here is the view from our kitchen dining table through the French doors we installed last year.
Above: The cats seem to approve of the new dining area.
North-Side of House Landscape
We're building up the dirt against the foundation to help with the drainage problem. We're installing a path, and building a low area so that the gutter water will have somewhere to go other than into our foundation. This area will be landscaped with woodland plants sometime next year.
Above: Lining the path with rock and laying cardboard as weed barrier.
Above: The path raises up almost a foot to create a low spot where water from the gutter can collect during the rain seasons. I used old broken brick to raise the path height up. Next step is to pour gravel for the path and mulch the whole area.
Misc. Other Photos and Projects
Above: The kitchen potager after one of the coldest Springs on record in the Pacific Northwest. Not bad. We won't be getting any tomatoes, but we have more arugula than we know what to do with!
Above: We found this old metal kitchen cabinet that's perfect for our outdoor kitchen. In the coming weeks we'll be installing the brick patio, install the cabinets and pull the grill down off of the deck.
Above: An arial view of the backyard.


 We recently completed and installed a new kitchen pot rack. We spent a good deal of time searching the web looking at other homemade and custom built pot racks. We ultimately settled on a simple design using materials we already had available. The 4x4 vertical posts are recycled from a banister railing we picked up. The remaining lumber is mostly scraps we had laying around. The brass bars are a Second Use find, and complement the brass we've used throughout the kitchen design. We built the rack perfectly centered around the light fixture which we just recently installed.


